Acoustic Treatment – The Easy Approach
As you know, it’s a nightmare to mix in a room that has echoes, reflections, slap delays and ringing going on. You just can’t really hear properly what you’re doing. On top of that your ears are likely to be tired after a while of listening in that kind of environment. How to create a space that’s suitable for your home studio? Is acoustic treatment the answer? Partly.
As you want to make professional sounding music from your home studio, how should you treat the room, acoustic wise? What kind of acoustic treatment to use? How expensive it is? Where to even start?
Well, there are some false preconceptions about acoustic treatment and how much is actually needed – mostly because of fancy recording studios. You don’t actually need to cover your room with acoustic panels and diffusers to make professional sounding music. Again, a little goes a long way.
Here is the easy approach to acoustic treatment:
Room
Most of all don’t have the luxury to choose the room for our home studio. You can’t really design the room from the start. So usually you have one particular room, or part of it as a home studio. You might share your home studio room with someone. It’s okay, you can make it work.
However, if you do have some options, select a room that’s medium sized. This is because a too small room won’t represent sounds correctly, as they haven’t got enough time to develop, and too big rooms have huge amounts of reflections. A normal sized room will work perfectly fine. All the better, if it’s possible to choose a room that’s not symmetric.
In the room, you want to cover windows with curtains. Windows are the enemy of sound waves. Also avoid large mirrors or cover them with something too. It’s also a good idea to put a carpet on the floor. These steps will already go a long way to help with echoes, reflections and ringing.
Speakers
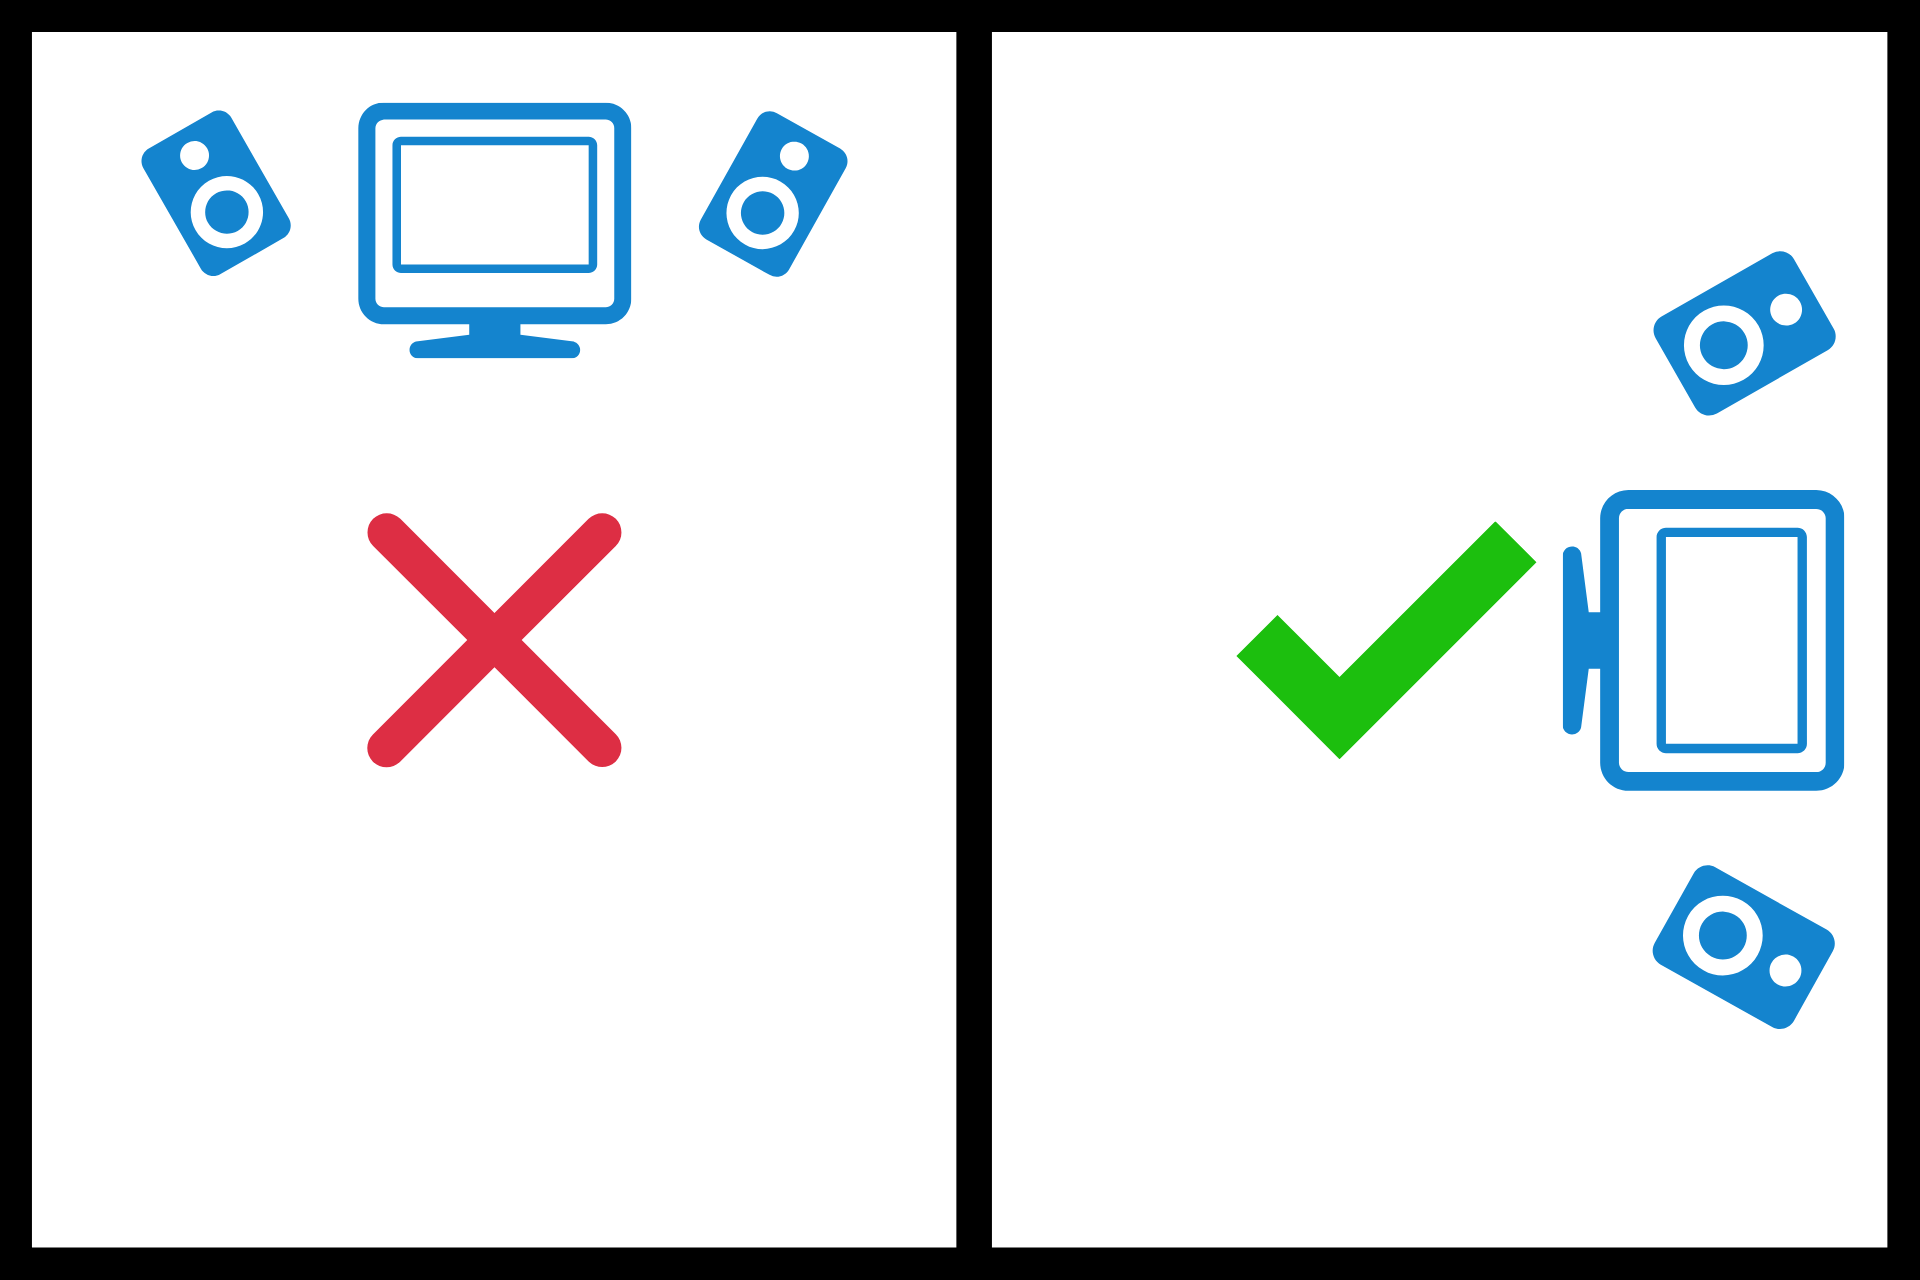
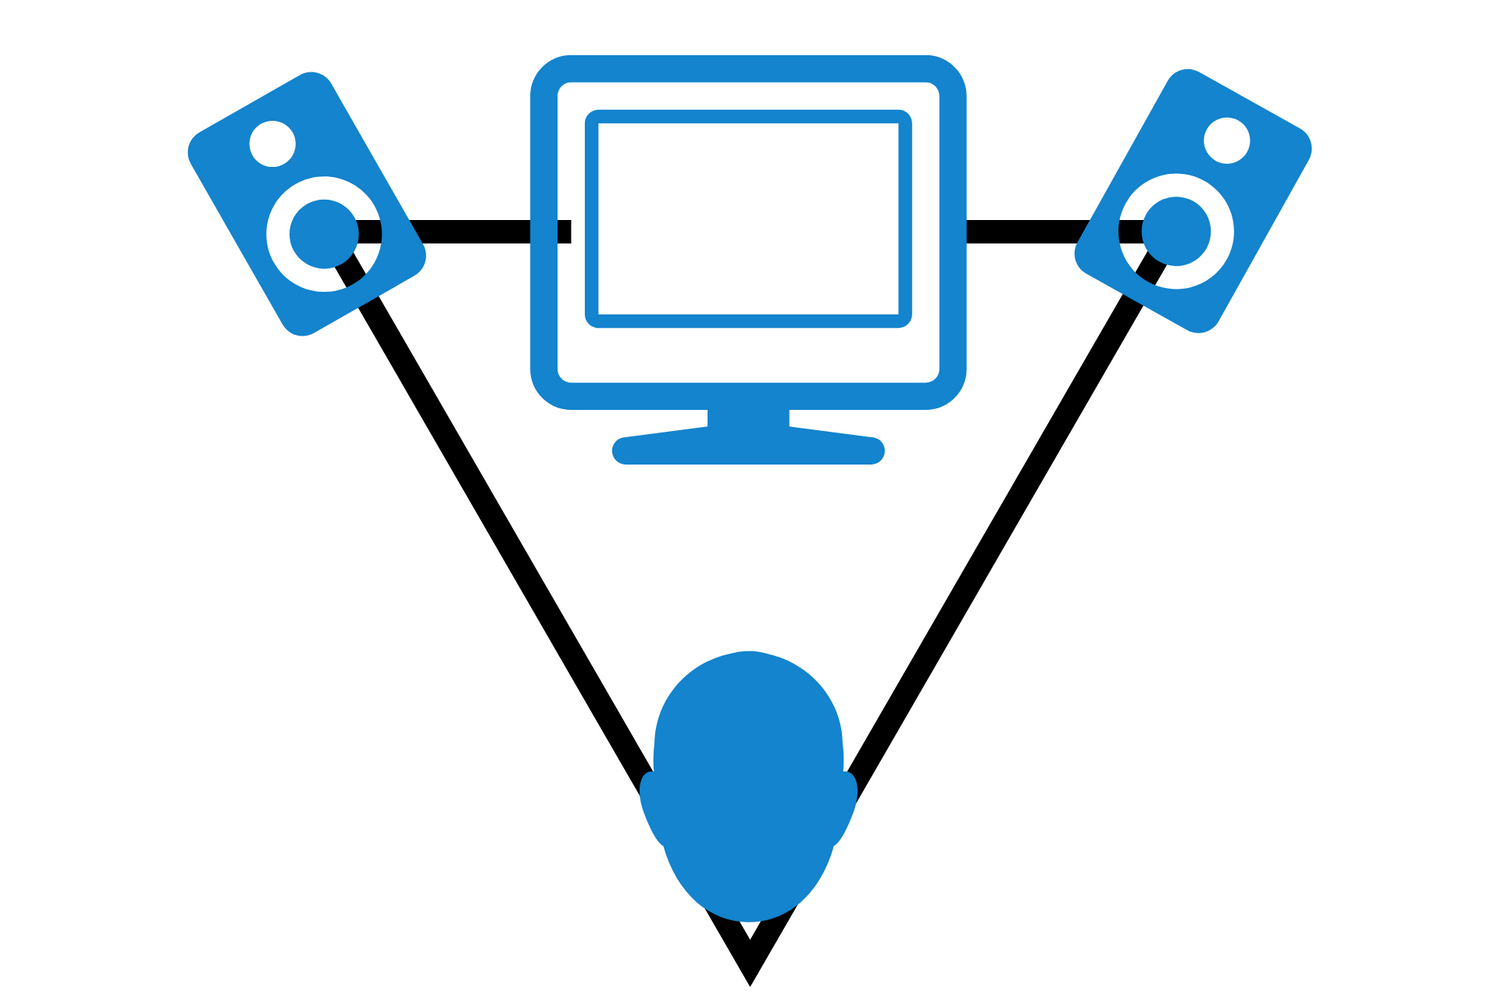
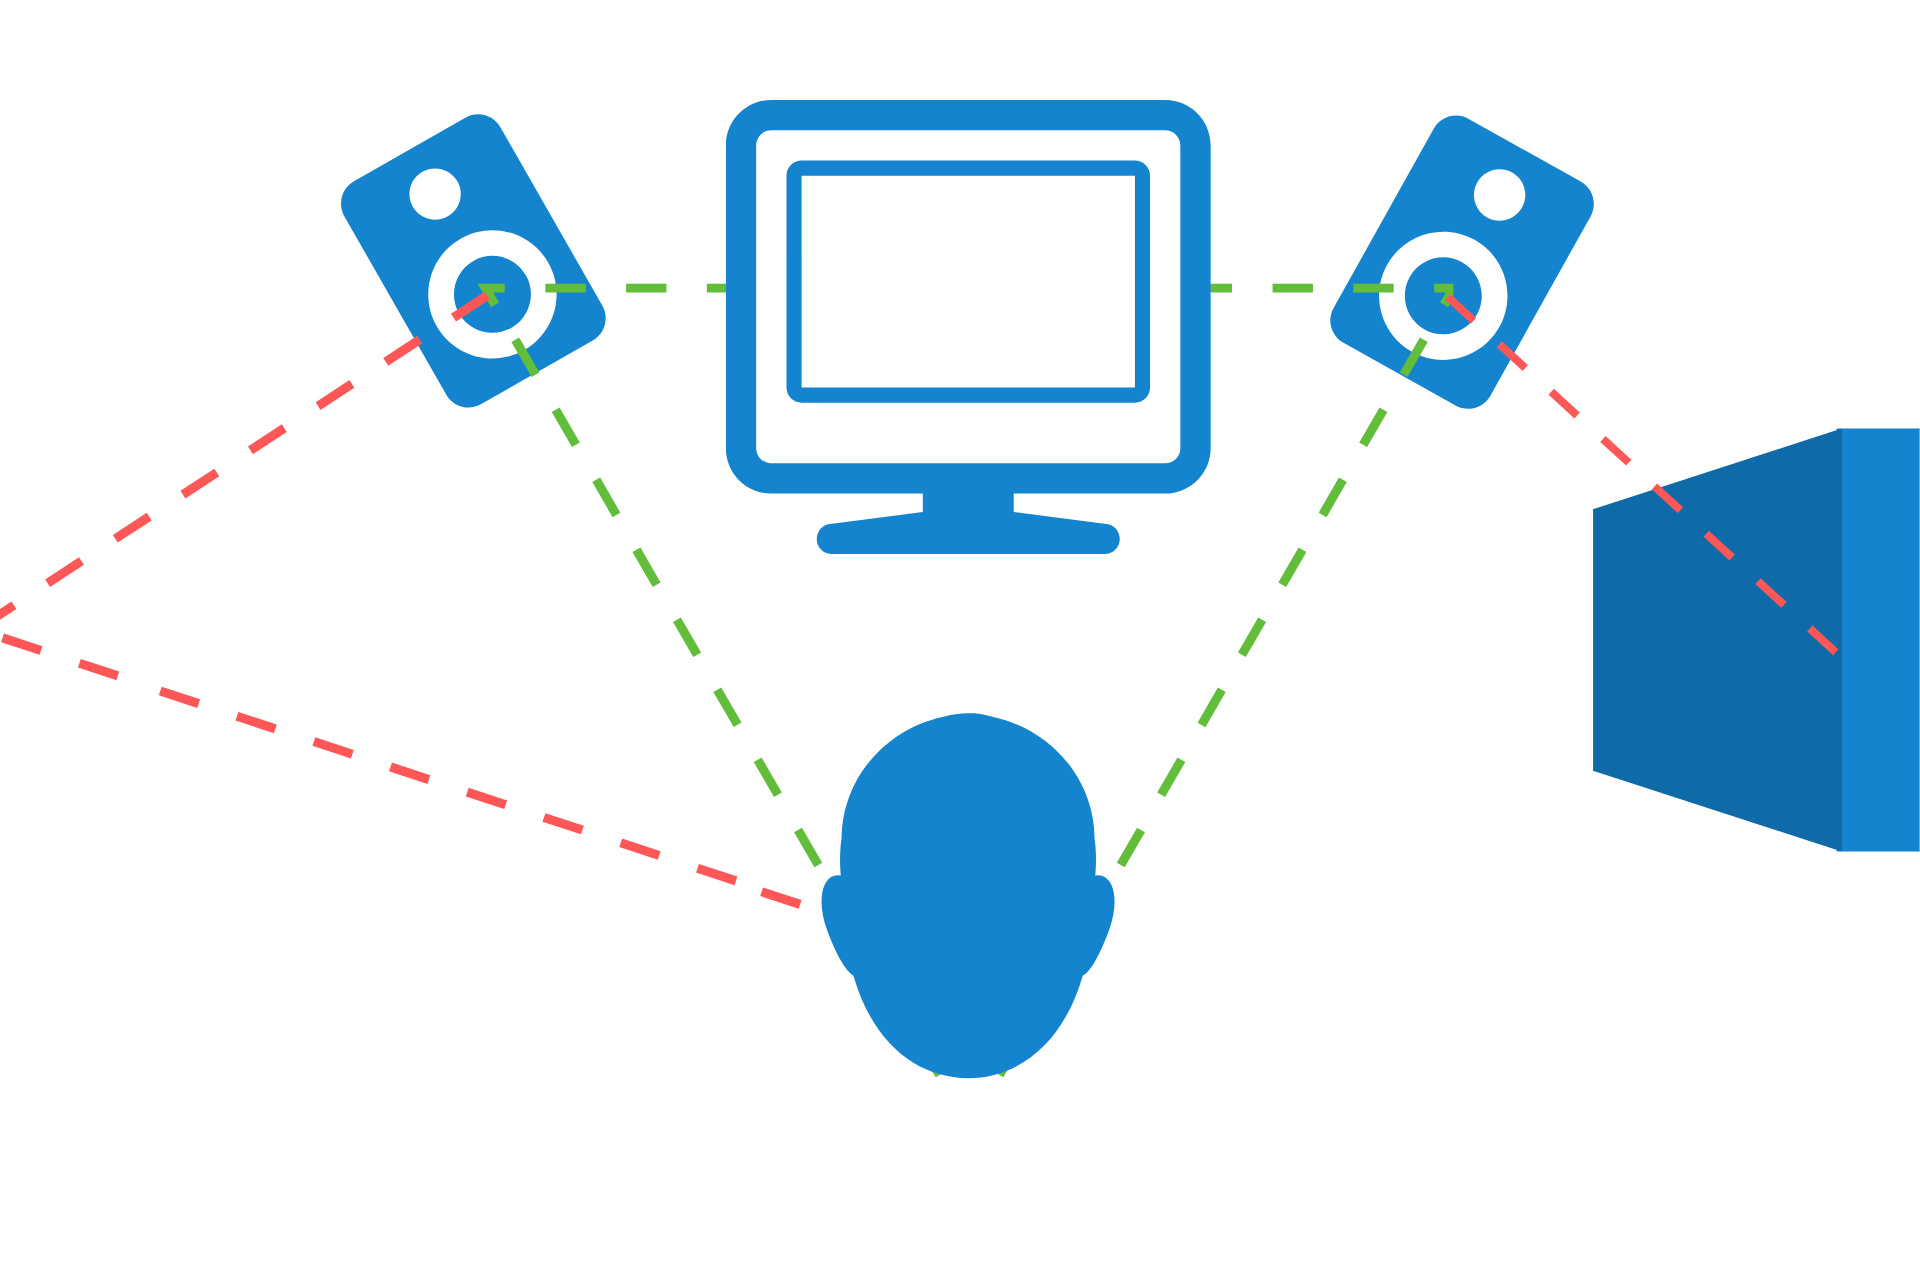
The placement of your speakers is essential. Try not to set up your battlestation in an alcove, a corner or too close to any walls if possible. See, the sound needs space to develop and you don’t want walls near speakers to deform that sound. Position your desk and speakers along a long wall of the room, rather than short.
Next you want to aim your speakers so that you create a sweet spot. This is really just the ideal position between your ears and the speakers. Together they should form a triangle. From the sweet spot you should hear everything as clearly as possible, which makes it a great place to mix. Aim your speakers to point at your ears. If they’re below you, point them a little bit upwards and vice versa.
Absorption
Now that you’ve got speakers set and your position is “sweet”, it’s time for acoustic treatment. There might be these echoes and ringings in your room that need to be taken care of. They make it harder to hear correctly what your speakers are actually trying to tell you. This is because the sound from your speakers are bouncing to your ears from walls. These are called early reflections.
To tackle these reflections, simply use some acoustic tiles or panels on the walls on your sides. These panels will absorb part of the sound that hits them, which means less reflection to your ears. Don’t go crazy with acoustic panels. Just kill the excessive reflections with these panels and move on. Start with just one panel each side and go from there.
You can get started with just under 40 euros with these acoustic tiles from Thomann online music store. If the gray tile is not your thing, there’s also more eye pleasing options available, such as these white pads, but they’re a bit more expensive.
How to know where to place the absorbers? Sit in your sweet spot and ask a friend to move a small mirror along the wall. When you see the speaker on that mirror, that’s the place for the absorbers. If you feel like putting absorbers on the sides of your room isn’t enough, you could try to add some on the ceiling too.
Diffusion
Some reflection is good. You don’t want to kill the entire sound of your room. It is also expensive as you need quite a few panels to do that. Hearing some reflections coming back from walls, ceiling and floor is actually a good thing, as it helps to create a more natural stereo image and realistic open sound.
The problem is that if you’re in an empty room, you’re likely to have too much of these reflections from bare surfaces. The sound bounces from every surface, like your desk, computer screen etc. You know the horrible slap back delay and ringing I’m talking about?
Diffusers are made for handling this problem. Diffusers break the reflecting sound so that it’s not coming straight back as one, but in many different intervals. This is because diffusers are these weird looking and shaped tiles that break the sound in different directions. They look like this.
However, this is somewhat extreme for a home studio owner, as they can be really expensive. If you’re in a normal apartment, you’re likely to have some furniture and other stuff in your room. These will also diffuse the sound. Don’t feel like you have to use these expensive diffuser panels. It just helps to know what they’re made for, so you can experiment with the existing items of your own. Bookcases, sofas, chairs, shelves and such are great for this purpose.
Bass
Low frequencies tend to group in corners. They create bass heavy areas, where the bass is significantly louder than in any other parts of the room. Bass traps in the corners are made for tackling this problem, but they’re somewhat ugly. Your spouse or roommate probably won’t like having them around. They look like this.
Don’t worry about this too much though, as you’re not likely to mix in the corners anyway, are you? If you can hear the bass fine in your sweet spot, then who cares what it sounds like in the other parts of the room, your alone most of the time in your home studio anyway.
The problem is though, that bass can be boosted in your sweet spot, which means you’re probably not adding enough bass in your mix, as you hear it too much. In this situation you might want to use either bass traps or some furniture / items in some of the corners to deal with it.
Isolating Speakers
Use isolating pads underneath your speakers as you want to be listening to the speakers and not the furniture in your home studio. Pads like this prevent the sound from resonating from speakers to your desk / stands and they reduce the amount of low frequencies going to the walls, floor and ceiling. These can be bought fairly cheaply from web and they look like this.
Summary
- If you can choose a room, go with a medium sized, not too big and not too small room.
- Cover windows and mirrors with curtains and use a carpet on the floor.
- If possible, set up your workstation so, that the speakers are not too close to walls. Avoid alcoves etc.
- Set up a sweet spot: a triangle between your ears and speakers.
- Absorption for reducing reflections
- Diffusion for breaking reflections
- Bass traps for more even bass repetition
- Isolating speakers for not resonating through desk / stands
While these are all worth considering, you probably don’t need all of these in your home studio. The most important and the best bang for your buck are these:
- Set the workstation away from walls
- Set the sweet spot
- Isolate speakers
- Cover windows and the floor
- Absorption with few panels
Remember that listening with low levels means less reflections from the walls, which means fewer problems. You can get away with surprisingly minimal acoustic treatment. The main objective of acoustic treatment is to be able to hear properly the sounds your speakers are producing. That’s all.
However, there’s a good chance that you’re never going to get your room to be acoustically perfect and that’s fine. Learn how your room sounds. If you know that there’s a little bass boost in your listening environment, you can take that into consideration when mixing.
Thanks for reading. These PDF-guides will help you further with your music.
5 Steps to Create Music Faster (..and avoid the writer’s block!)
6 Step Guide to Realistic Midi Drums
You can get them for free today, no strings attached, enjoy!