Recording Pro Vocals at Home – Part 1
Getting vocals right is hands down the biggest stumbling block in a home studio environment. No matter how awesome your song sounds otherwise, if the vocals aren’t right, the end product still sounds amateur. This is why you need to pay extra attention to recording vocals at home.
Vocals is the hardest thing to get right, because more often than not, we tend to focus on the wrong things. We rush to choose the microphone, flip through vocal channel presets and try to make the vocals sound okay with EQ. Sadly, two of the most important things are being ignored: the vocalist’s performance and the recording space.

Although there’s no question you’ll need to sing well to capture a great sounding vocal track, there’s a couple of things to consider before that. So, let’s put picking microphones and preamps aside for a moment and let’s focus on the room that you’re recording in. Let’s pause and think for a moment.
When you set up a microphone in front of you (or the singer), what does it “hear”? Yes it hears the singer, but it hears the reflections from the walls too. It hears any unwanted noise coming from outside the room. It hears air conditioning and a car that’s driving just by your house. Human ears are good at selecting what they want to hear, whereas a microphone can’t do that – it picks up everything.
To get a good sounding vocal track, you need to eliminate all the noise and most of the reflections. This is because in modern music you want to record the vocals as dry as possible. Your vocals might sound fine at the beginning, but when you add compression in the mixing phase, the room reflections and noises becomes more audible. It’s not a good starting point and there are ways to avoid this.
Now, you don’t need to soundproof the whole apartment or set up acoustic elements and panels all around the room you’re recording in. You can improvise. At first, step out of the closet and go in a bigger room. In a closet, walls are closer to the microphone. Because of this, more reflections are mixed in with the dry signal. Vocals are likely to sound odd in a small closet, as the small room sound is heavily affecting the sound. Record in a bigger room. Set the mic in the middle of the room, away from the walls. This way it will pick only a little of reflections from the walls.
The room benefits from carpets and soft furnishing. Of course it would be helpful to set up some strategic acoustic treatment on the walls and on the ceiling, but you can manage without them. Microphones hear sounds coming from every direction, even cardioid-pattern microphones that are usually used in vocal recording. Sure a cardioid-pattern mic hears the loudest sounds in front of it, but it also hears sounds coming from the sides and rear.
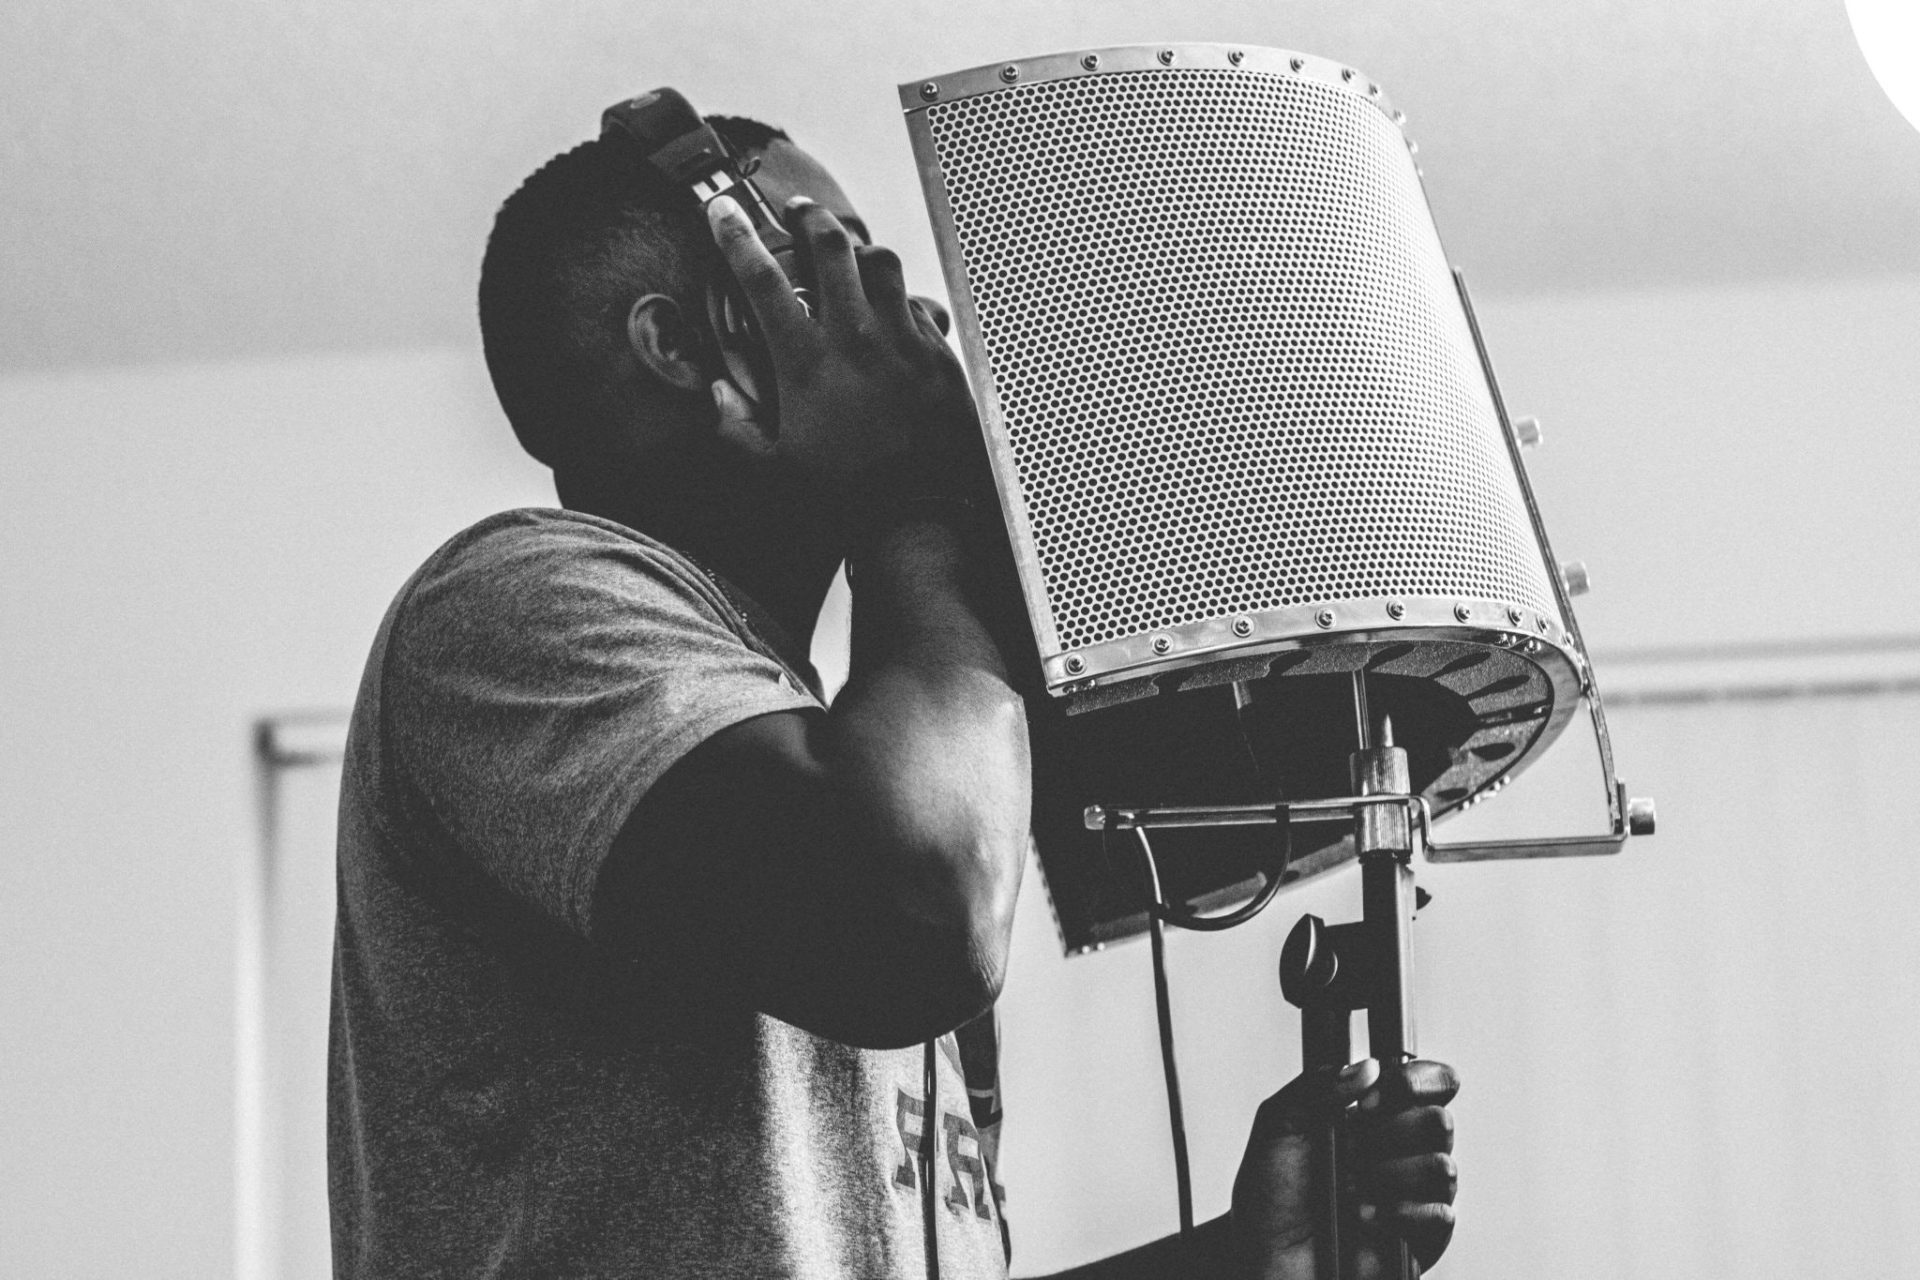
To tackle this problem, you can use a curved screen. If you don’t want to purchase one, improvise with thick blankets, mattresses, carpets, foam or whatever you can think of, to create a similar screen. This will help reduce the muddy room reflections that microphones usually pick up alongside with the vocal performance.
Unfortunately that’s not all, as the vocal sound bounces off every surface, even from wall behind the singer. You might want to hang a blanket or something similar behind the singer’s back. For example you could hang it on another mic stand, if you have an extra one. This simple solution ensures that no excessive reflection from the wall behind the singer reaches the front of the microphone. Use as heavy blankets as you can find. Hopefully the ceiling isn’t low. In this case try to improvise with something on top of the singer also, or change the room.
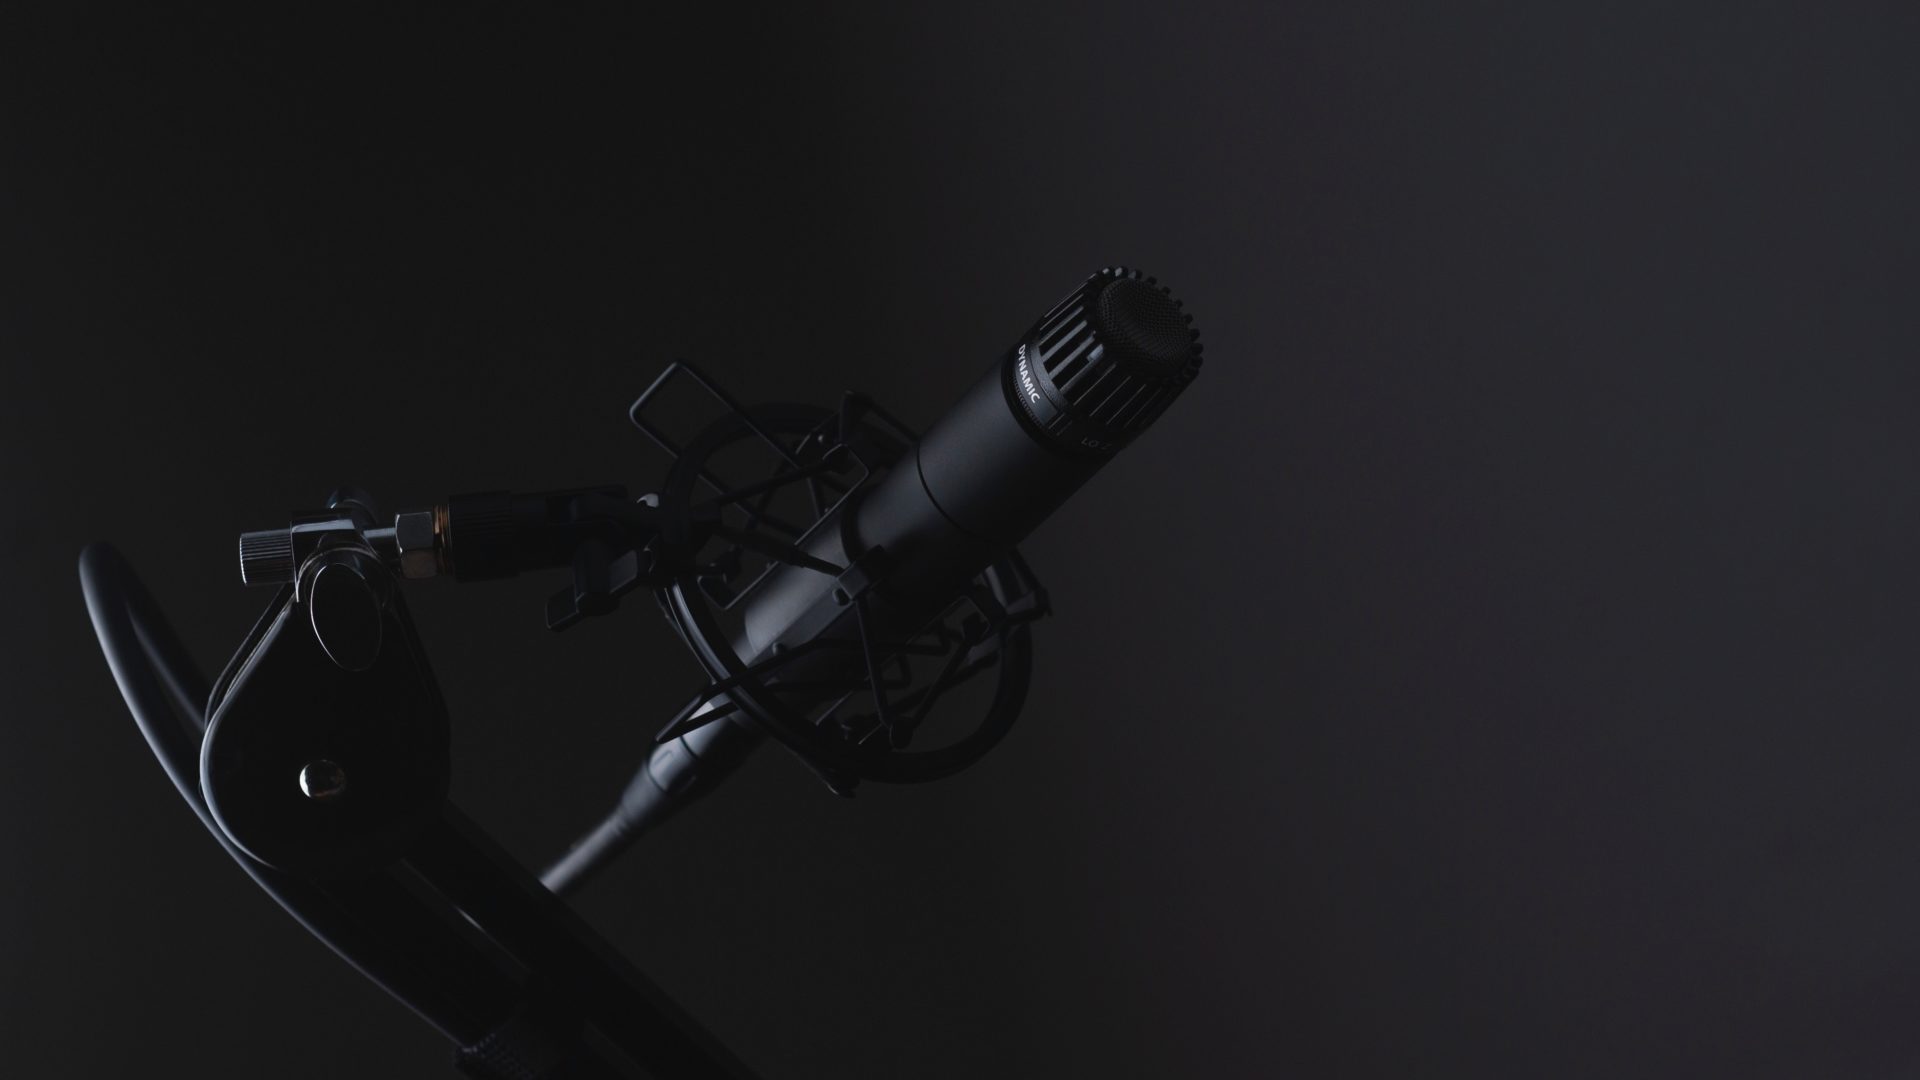
Okay, now that you’ve dealt with reflections, it’s time to choose the microphone. Basically you have two options: dynamic mic or large diaphragm condenser microphone. Dynamic microphone is usually less sensitive and has more “raw” sound. They’re used in live shows because they endure a lot of sound pressure. Condenser microphone however captures high frequencies more accurately, making the overall sound typically more crispier and airy.
Condenser microphones need 48 volt phantom power to work, but generally audio interfaces can provide it today. They also need a shock mount, because they’re so sensitive to pick up vibrations from the floor and the mic stand. Condenser microphones also pick up easily explosive Ps and Bs that sound like popping. Because of this in order to tame these down, you’ll need a pop filter. If possible, go for a pop filter that’s attached to the shock mount. It’s easier to use.
Should you choose a dynamic or a condenser mic? Both will surely work fine. Dynamic mic is great as you can grab and hold it while singing. It endures more sound pressure so you can sing with your mouth close to it. In this case, the room reflections are not troubling you as much. For hard hitting music I’d choose a dynamic microphone for the reasons mentioned above. If rock or metal aren’t your deal, both types of microphones will work fine. At gunpoint, I would probably lean slightly towards a condenser mic in more mellow music, because of the ability to pick up the upper frequencies better.
What model should you pick? There are so many options to choose from, it can be confusing. While it’s a tip worth thinking about to “choose a microphone that suits the vocalist’s sound”, it is unlikely that you can test multiple mics or buy many of them. Truth to be told it doesn’t really matter that much, as long as you don’t buy the cheapest crap mic available (and even they can work surprisingly well).
For under 100€ I’d go for Audio-Technica AT2020, Behringer B1, Samson C01 or Shure SM57 (dynamic). If your budget budges, for under 200€, go for Rode NT1 and under 400€ go for Rode NT2-A or Shure SM7B (dynamic). All of the options above will surely serve you well.
TIP: For hard hitting stuff, choose the SM7B. It is a little more expensive one (around 350 – 400€), but if you can afford it, go for it – you won’t regret it. You can hold on to it, have your lips right against it and it sounds awesome. It endures the sound pressure really well, even screams and loud high pitched vocals won’t overload the mic. In hard hitting music you want to compress the vocals pretty hard, so it’s essential not to have any room reflections on your vocal track. With SM7B, you don’t need to worry about that so much, as you can keep it so close to the source of sound, in this case the mouth of the singer.
I used the SM7B in my own song “Reason Why”. It is recorded in a room that has no acoustic treatment at all, and I didn’t use any curved screens, blankets or anything else for that matter.
That’s that for part one of the Recording Pro Vocals at Home. Remember to set up the mic in the middle of the room and do what you can to the room reflections – a screen behind the mic and a blanket behind the singer goes a long way. Dynamic mics are great for home recording, as you can sing more close to it – less reflections mix up with the dry signal.
Hope this post was helpful. Until the next week’s part two, Download my PDF-guides to get even more amazing content:
5 Steps to Create Music Faster (..and avoid the writer’s block!)
6 Step Guide to Realistic Midi Drums
You can download them for free today, no strings attached. Enjoy!

2 thoughts on “Recording Pro Vocals at Home – Part 1”