Recording Pro Vocals at Home – Part 2
So now that we know how to get rid of the noises and reflections and choose the proper microphone for the task, let’s continue further with vocal recording. In part one of the “Recording Pro Vocals at Home” we established that both types of microphones will surely work perfectly fine for vocal recording at home. However, after tackling reflections and choosing a mic there are things where people tend to go wrong and ruin their vocal tracks.
Sibilance
Especially condenser mics that are designed to give more flattered high end can exaggerate the Ss (sibilance) and Ts. When the track is compressed, the sibilance is going to be emphasized and more obvious. It’s good to deal with this straight at the source to get as high quality a track as possible.
To deal with sibilance, try aiming the mic differently or turning it slightly off-axis from the singer’s mouth. If you have trouble singing slightly off the center of the mic, put another mic (or something to aim at) next to the mic you’re recording with. Sometimes changing a microphone can improve things a lot, but since you might only have one mic, it might not be an option. On the contrary what might help is the classic pencil trick. Use an elastic band to attach a pencil in the center of the mic, in front of the capsule. This will reduce the sibilance as the pencil shields the center of the diaphragm.
Keeping the right distance
The next thing to consider is keeping the right distance. With condenser mics you don’t want to be too close. This will add low end to the signal because of the proximity effect (the closer a mic is to the source of sound, the more low end a signal will have). It doesn’t sound as natural as from further away. A good ballpark distance between mouth and mic is around 20-25cm. A pop filter is usually set somewhere around 5 to 10cm from the mic. Of course more experienced singer varies the distance between loud and quiet parts and can use proximity effect to their advantage. They can sing a little closer to make it sound more intimate and back away when singing louder parts.
With dynamic mics you can obviously sing closer as they tend to endure more sound pressure. They also boost the low end with proximity effect a bit and therefore you could keep your distance. Sometimes low end filled vocal sound is desired, so you sing your lips close to the mic. It depends on what you’re after. Hard hitting music is rarely natural sounding, so don’t worry too much if the vocals are somewhat bass heavy.
Healthy signal level

Setting the right signal level is essential for getting a healthy sounding vocal track. This means not recording too low and not too loud. So what you want to do is to sing and adjust the audio interface’s mic pre-amp at the same time to be at the right level. Adjust the gain so that the loudest parts peak at around -12db to -15dB. This is shown to have the best signal-to-noise ratio. Furthermore, it’s good to have headroom, so you don’t get any unwanted distortion with sudden peaks in the audio.
It’s good to comprehend that the recording level is controlled with the pre-amp, not with DAWs faders. They’re only used to control the playback volume. So don’t get fooled by volume. Adjust the right gain at the audio interface and then set the monitoring to the level that you are able to hear everything, which brings us to monitor mix.
Monitor mix
Monitor mix is combined from all the backing tracks and the vocal signal. In other words it’s the mix that you’re going to sing along while recording. So just make sure you hear everything, especially rhythm. It might be a good idea to use a clearly audible click track. You can add a little reverb to the vocal if that helps you to stay in the pitch. It’s a good idea to use fully enclosed headphones to avoid click spilling into the vocal mic. Otherwise it doesn’t make much of a difference, use whatever you like or have. Some singers like to take the other phone off their ear to hear their own voice better.
In case you have a long monitoring delay – usually caused by excessive use of plugins – you hear the singing with a latency. That’s not what you want, so make sure you bypass all the plugins you don’t need. In the audio settings, make sure your DAW is using audio buffer size of 128 samples or less for minimal latency. If the latency is still too much, use direct monitoring from your audio interface, if it has the option. This will mix the live vocal mic sound to the material coming from the DAW. In this case you have to mute the vocal track from your DAW, because you don’t want to hear your vocal twice (and the other one slightly off time).
Combing
Now that you hear everything perfectly without latency, it’s time to start recording. The aim of course, is to capture the best possible performance. This might not necessarily mean the performance with the best tune. A take with a lot of feeling and nearly perfect pitch might be a better option than a take with less feeling but perfect pitch. You can always fine tune pitch later, but no technology can bring the right feeling to the track. When working alone, you have to be a singer, a producer and a recording engineer at the same time.

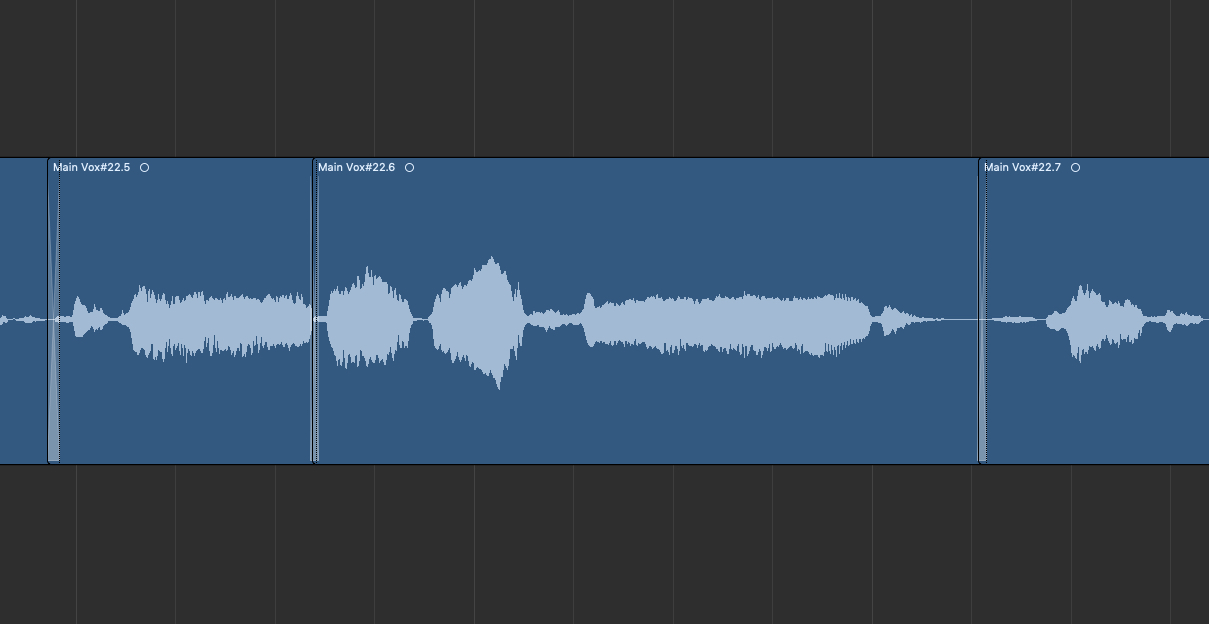
In modern music most of the lines are combed, which means they are combined from more than one different take. The best parts are put together. If you think that’s cheating, get over it because it isn’t, and everyone does it. It is just as important while recording vocals at home. When you have trouble getting a good take of some line, set it to a loop and record several versions of it. If it takes more than a dozen takes, it’s probably not going to get any better, so move on for the time being and come back after some time.
Recording order
Start by singing the song through a few times to warm up and get the feeling of the song. Warm-up exercises might be in place too. The order in which to record is really up to you. Some like to record verse by verse and chorus by chorus, others like to do choruses first. For more natural outcome and consistent feeling, try to sing the song from start to finish.
Whatever your case might be, do the double takes (if you’re going to double up some parts) right after the main take. This is because you have the phrasing still clearly in your head. Harmonies are typically recorded when all the main lines are done. Before you record doubles or harmonies, make a comb out of your main takes, to represent the timing. It doesn’t have to be perfect, but choose the takes you’re going to use. This way the other tracks sung at the same time are very similar to the main vocal track.
Breaks
It’s always a good idea to take short breaks from time to time when recording vocals. Just make sure that you are in the same position as before and you don’t change the angle or distance in relation to the mic. The tone of voice can also variate depending how long the break is, so try to capture a whole part of the song before pausing for rest.
So there you go, that’s the part two of Recording Pro Vocals at Home. Everything until now is pretty easy – nowhere near rocket science. You can do all this with a little effort. It’s just about knowing these things and doing them. Don’t be lazy or go under the fence. As always, small things add up. Keep up the good work and improve your songs by applying this stuff to your own recordings. Next week the part three will wrap up the Recording Pro Vocals at Home series. Until then, go check out my PDF-guides:
5 Steps to Create Music Faster (..and avoid the writer’s block!)
6 Step Guide to Realistic Midi Drums
You can download them for free today. Cheers!

2 thoughts on “Recording Pro Vocals at Home – Part 2”