Mixing Step Number One – The Raw Balance
One step is almost always forgotten or rushed through when it comes to mixing. We are so eager to throw plugins on tracks, that we forget the bedrock of the whole mix – the raw balance. Why it is so important? By forming the raw balance first, not only does every track find its own place, but you’ll discover the roadmap for the entire mix from there on out. It pretty much determines how rest of the mixing process is going to go.
The Raw Balance
At first, choose the most important section of the song. That’s usually the biggest part, where most of the instruments are playing at the same time. A sort of emotional high point, a climax. Loop that section and press play.
Setting the faders
Start with the most important instrument and pull up the fader where it feels good. Keep the listening level moderately low. A good point of level is where you can still have a conversation with someone. How to determine the most important instrument? Well, usually it’s the element that makes the song what it is – the center of the song. Sometimes it’s vocals, but although listeners tend to focus on them more often than not, some other instrument might be sonically more important.
For example sometimes you build a song around the rhythm. When you add tracks in order of importance, you don’t run out of space so easily. In case bigger-than-life vocals are what you’re after, don’t waste time trying to make all the other instruments sound huge. There’s no room left for big sounding vocals after that.
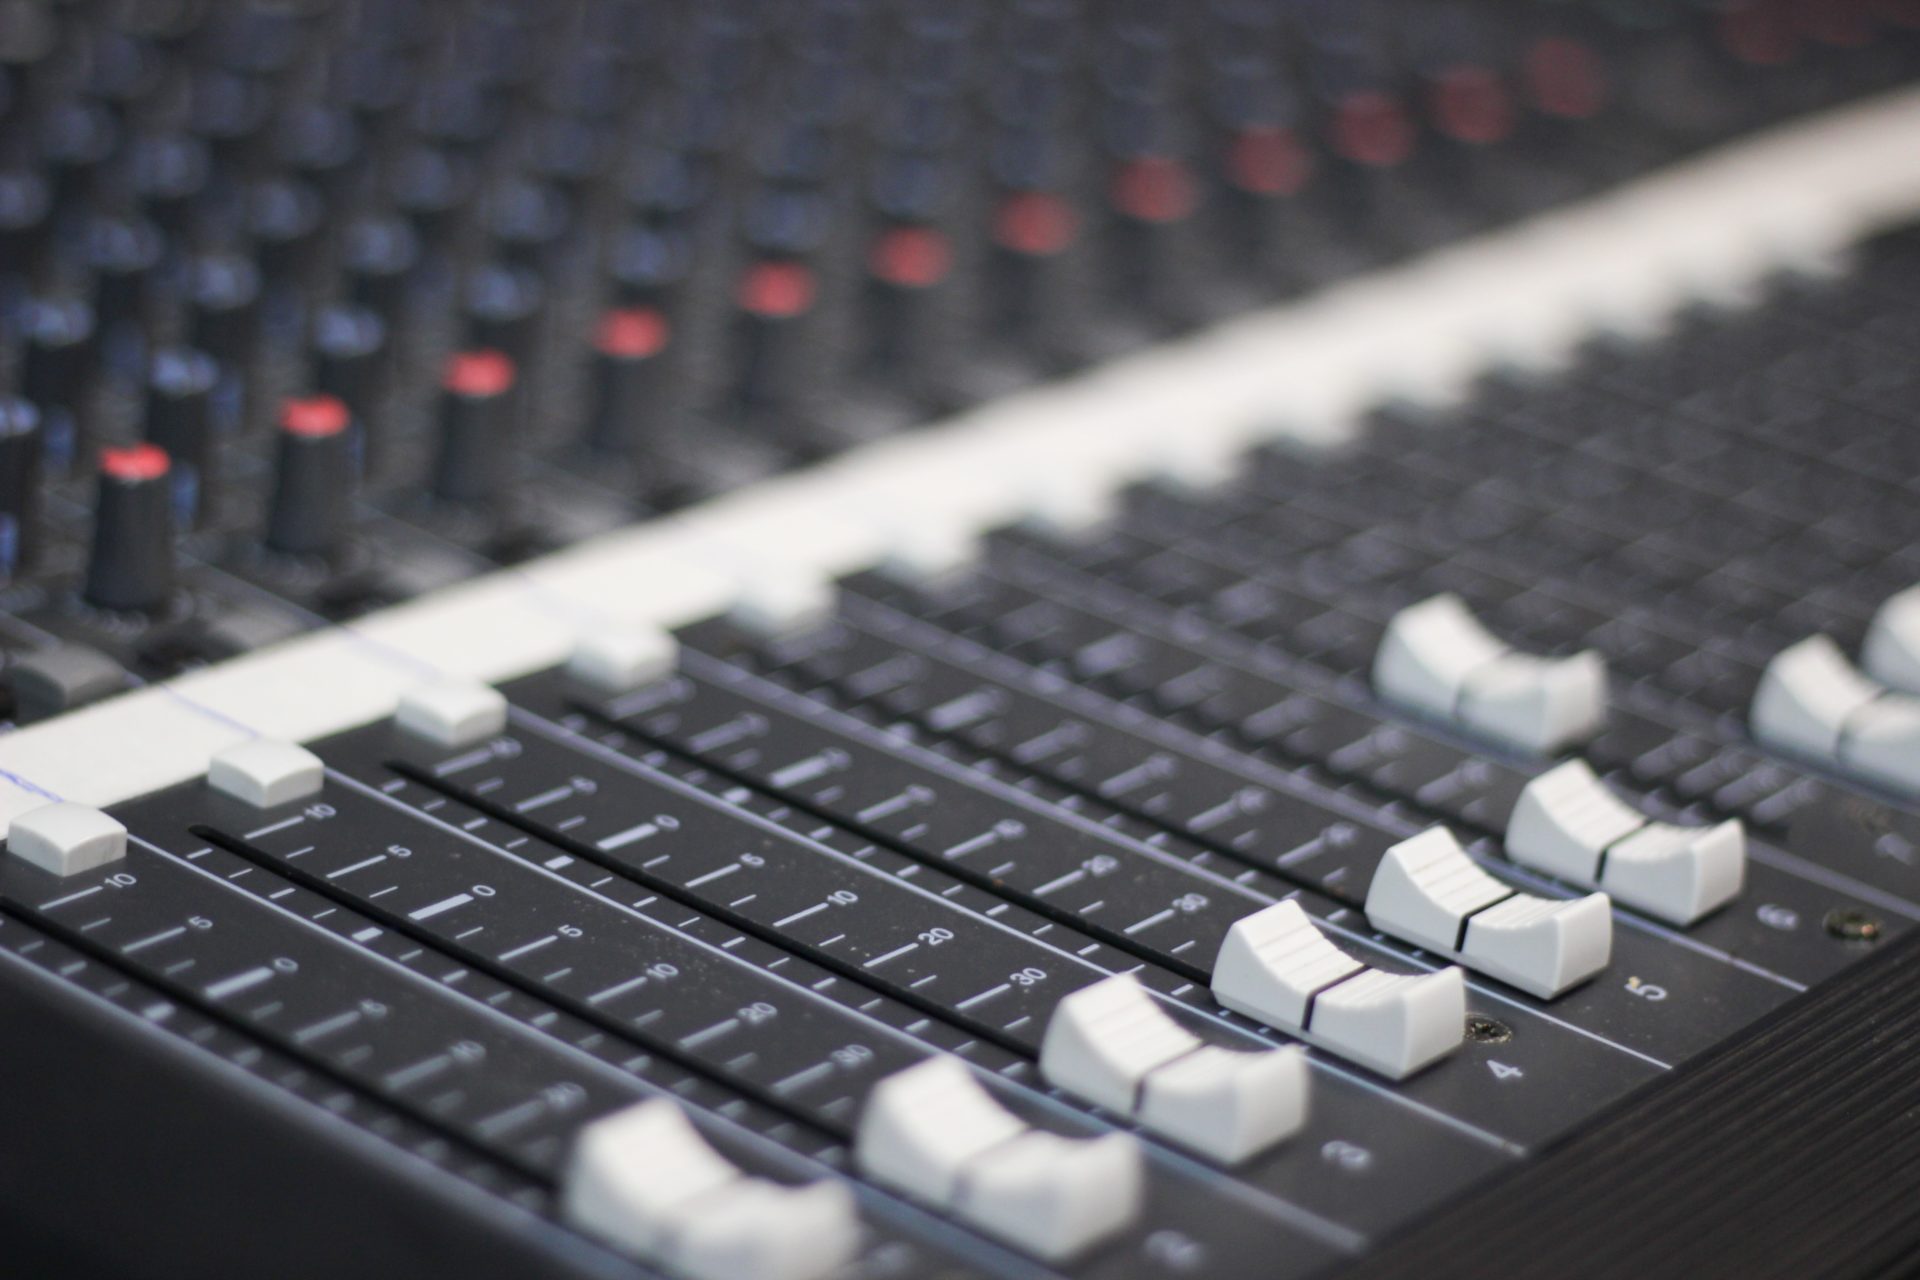
Add other tracks to the mix one by one. The goal is to get tracks in perfect balance. Take your time, as this step is critical. Think through with every instrument, what’s its role in the song – what do you want it to achieve? Sometimes the best option is to use the most underrated mixing tool of all time: the mute button. If a track doesn’t work, don’t use it. You can also mute parts of a track, in case it’s working in some sections of the song, but not in all of them.
Panning
As you’re adjusting the levels, consider also where you want the tracks to sit in a stereo picture. Use panning to move them either left or right. Panning is somewhat a matter of personal taste, but keep in mind – the more center things are, the better they stand the transformation to mono. Panning either hard left (all the way left) or hard right leads to 3dB level drop in mono. Furthermore, if someone were to listen with only one speaker or headphone, they wouldn’t hear any of the opposite side hard panned track. This is why usually instruments with same musical function are panned left and right – one on each side.
Changing between monitors
Keep your ears fresh by switching to different monitors or headphones and keep short breaks. Listen especially with a mono speaker to get a feel of how the hard panned tracks behave. Try to get every track in its place and in balance with the others. Don’t beat yourself up, getting a perfect balance in this phase isn’t quite realistic. Do your best and try to get it as close as you can. You won’t be needing as much processing later and the mixing process becomes easier.
Roadmap for the future
Now that you have the best possible balance in place, it’s time to think about moving forward. There are still tracks that don’t seem to settle. At one point they’re at a fine level, but the other times too loud or too low. You constantly feel the urge to touch the fader and move it either up or down. This is a clue, that this particular track needs some processing later. I said earlier that the raw mix gives you the roadmap for the entire mix. I meant that now your tracks are giving you precious clues, what they need in order to be balanced.
If a vocal track doesn’t seem to settle, it probably needs compression. If you get an acoustic guitar to sit nicely, but it’s too boomy, it needs some EQ. Leave tracks unprocessed if they balance fine as they are. That is harder than it sounds. Resist the urge to pour plugins on every single track without a proper reason – and without first forming the raw balance.
The Raw Balance – Summary
After putting together the raw balance, you’ve got a much stabler baseline to go on from. It’s easier to figure out what still needs to be done. You’re saving time, nerves and the processing power of your computer. Above all, the mix comes together faster and easier. Most beginners overlook this step, don’t be one of them. Exploit the power of the raw mix and take your songs to the next level.
While you’re at it, claim a free gift and download the 5 Steps to Create Music Faster – guide.

1 thought on “Mixing Step Number One – The Raw Balance”